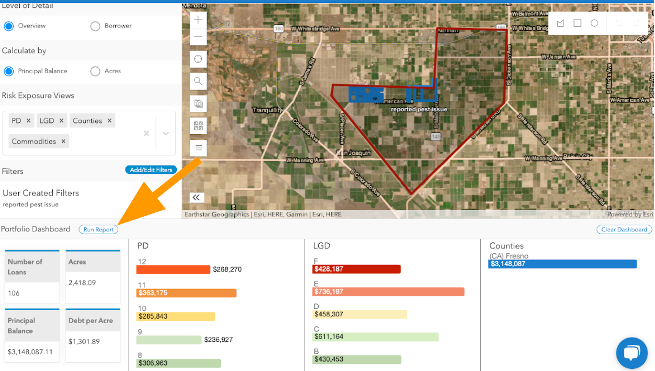
Draw your own area of interest to create a Portfolio filter that can be used to analyze your Portfolio
User Created Filters is a feature that allows users to draw a boundary on the map at an area of interest and then use that boundary to analyze their Portfolio.
To access the User Created Filters:
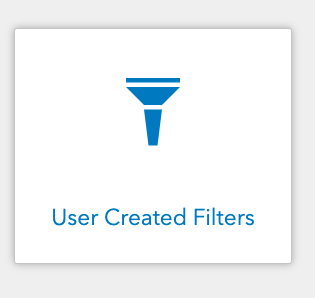
- Navigate to the home screen and click on the User Created Filters tile.
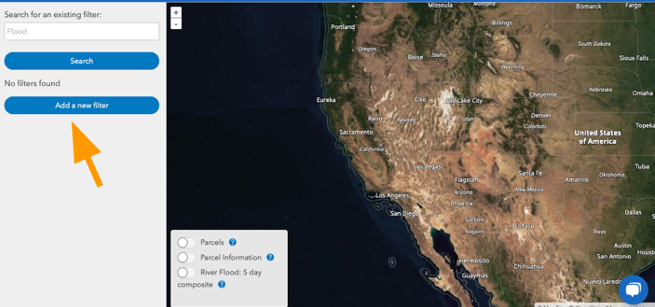
- Click on the "Add a new filter" button
- Enter a filter Name and select a Type from the drop down menu. Next, navigate on the map to the area of interest, and then click on the draw geometries tool to begin drawing
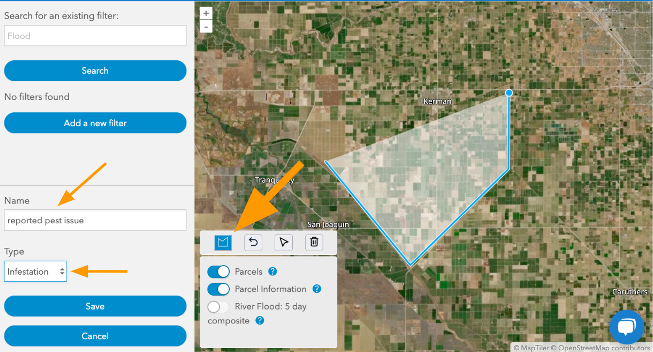
- To draw, click on the map around the edges of your area of interest. Double click to complete the shape. Edit or delete drawn geometries by using the undo last point, select geometries, and deleted selected geometries tools in the drawing toolbar. Click Save once you are done.
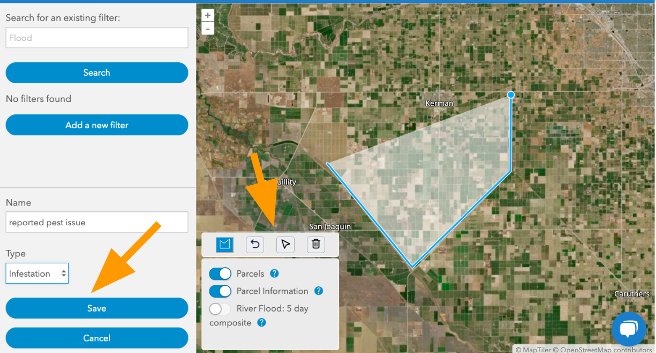
- A confirmation message will pop up on the screen confirming your filter was created.
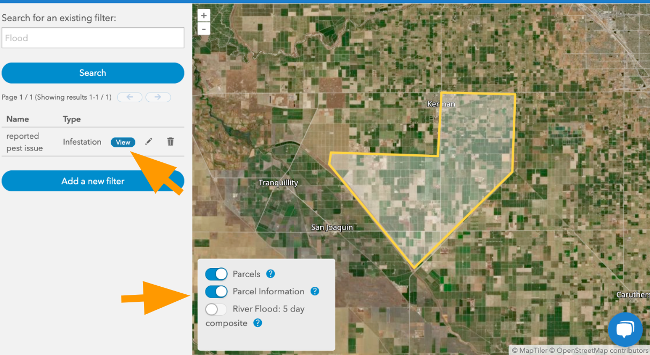
- View your filter by clicking on the View button and Toggle on and off layers of interest to view them with your created geometry.
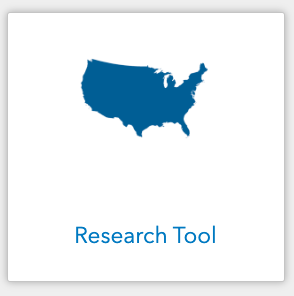
- To analyze your portfolio with your new filter, navigate to the Research Tool tile on the home screen to view your portfolio dashboard
- Click on the Portfolio tab and then Add/Edit Filters button
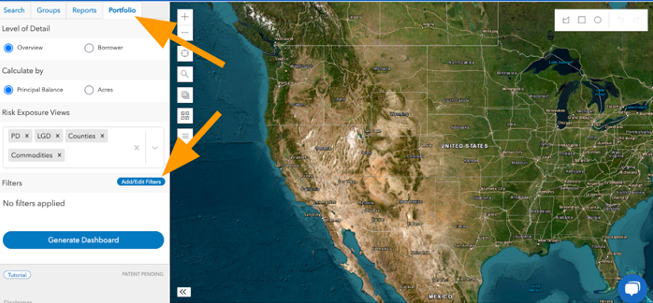
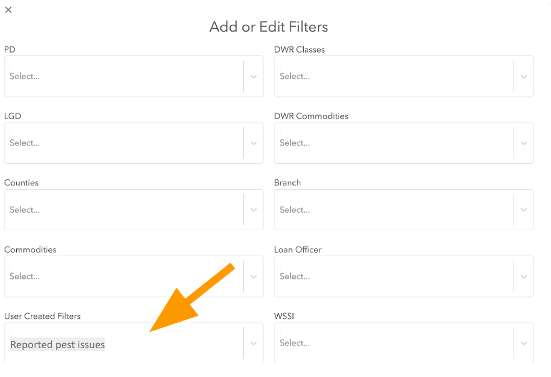
- Select your filter from the User Created Filters drop down and click Apply to apply the filter
- Click the Generate Dashboard button to view your Portfolio Dashboard in the context of your User Created Filter. Click Run Report for your PDF and .csv exports.
